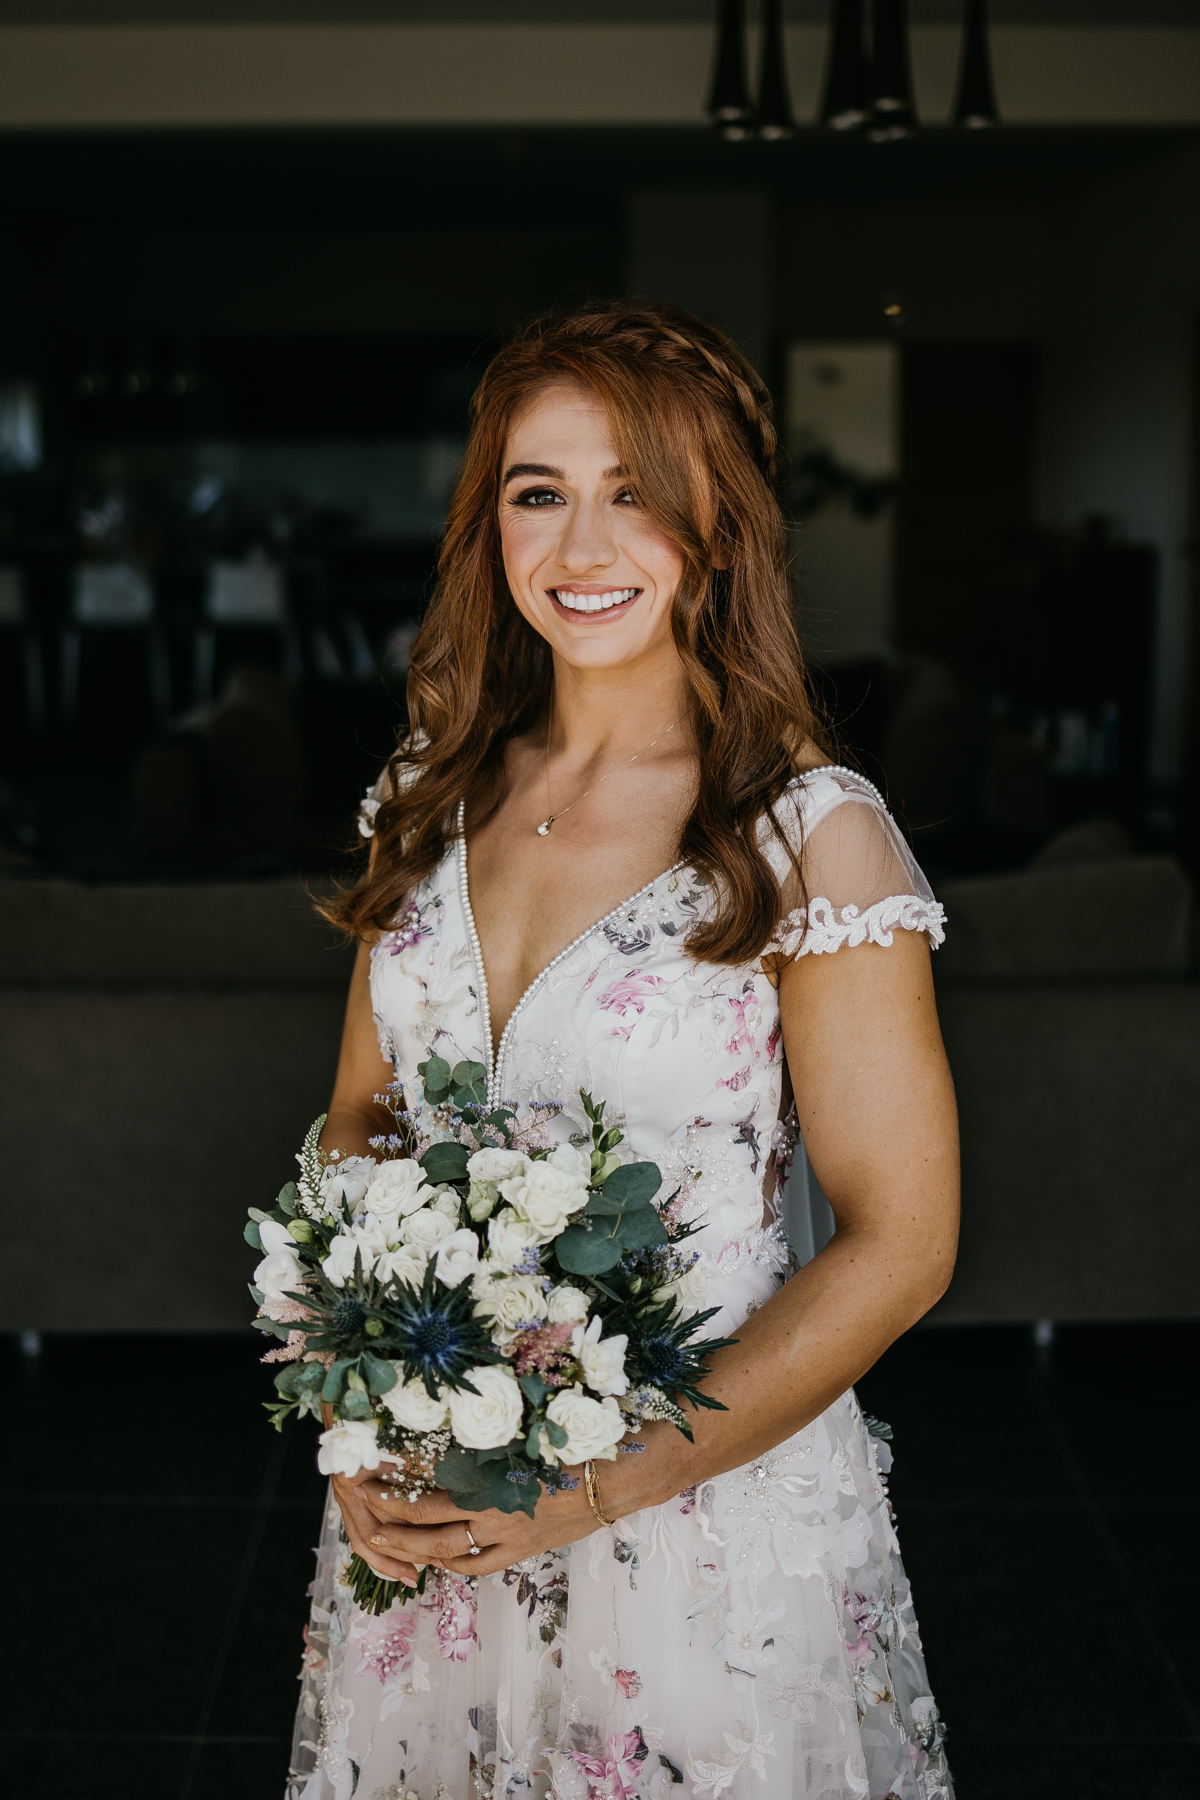
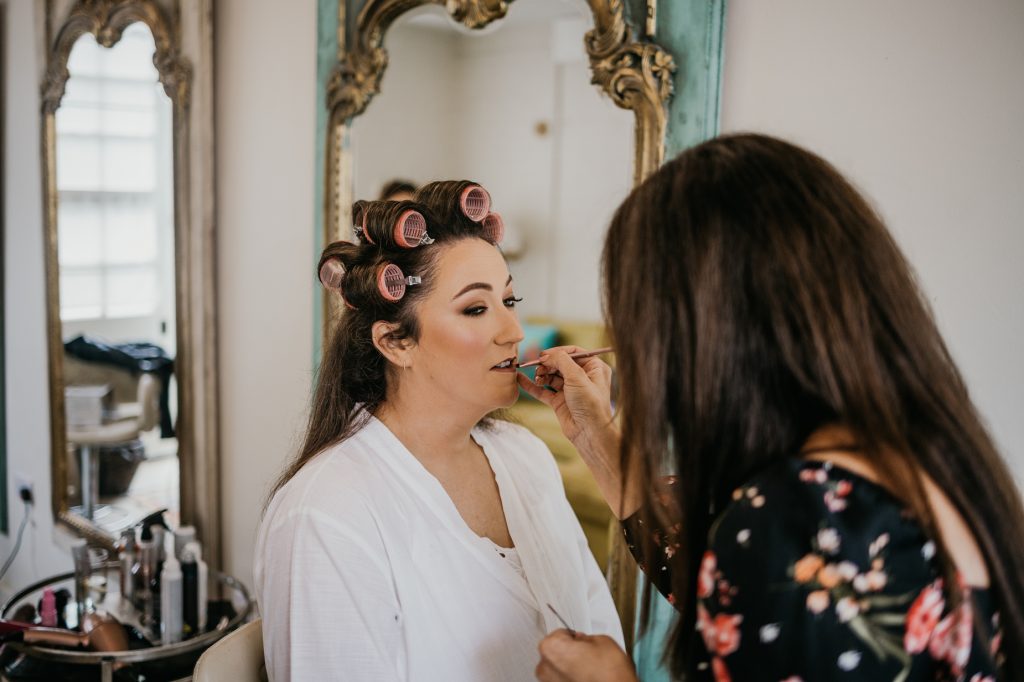
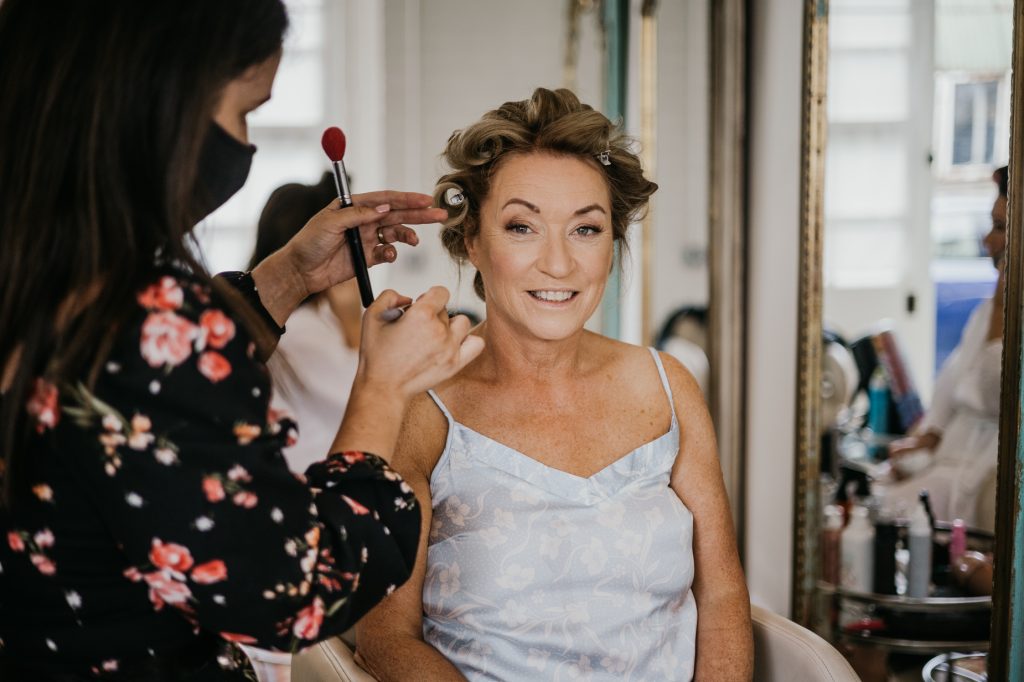
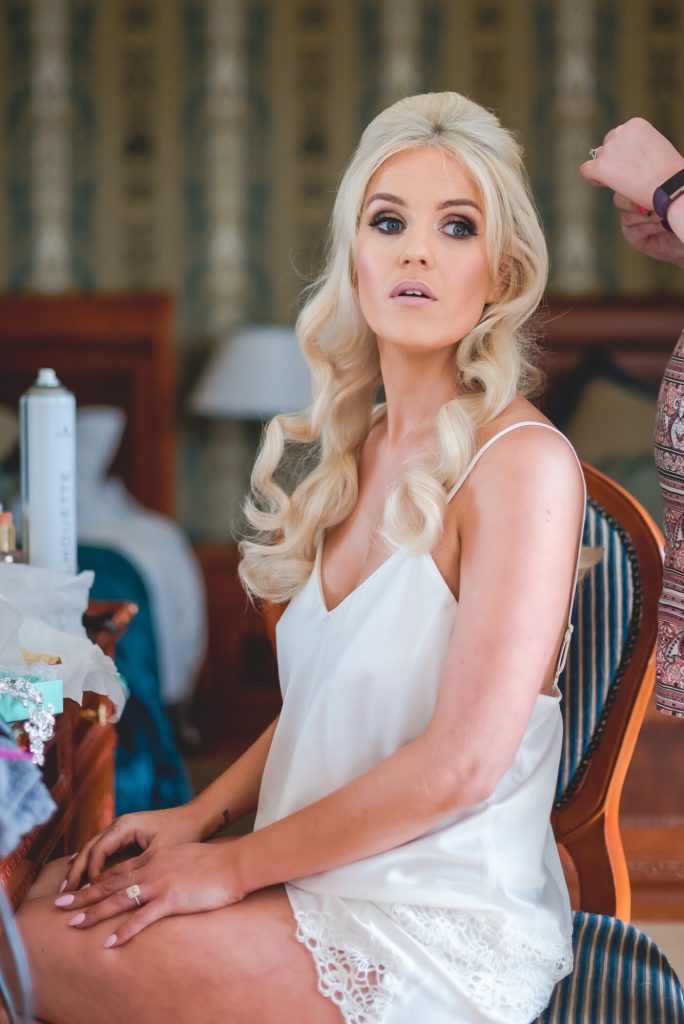
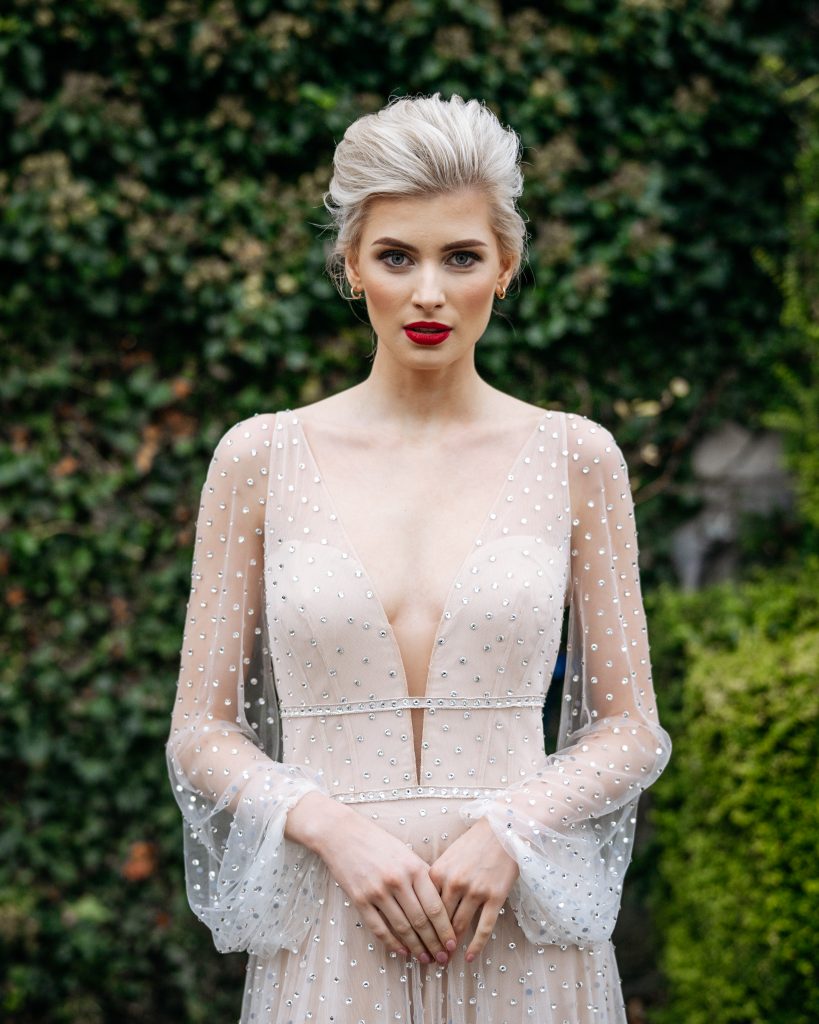
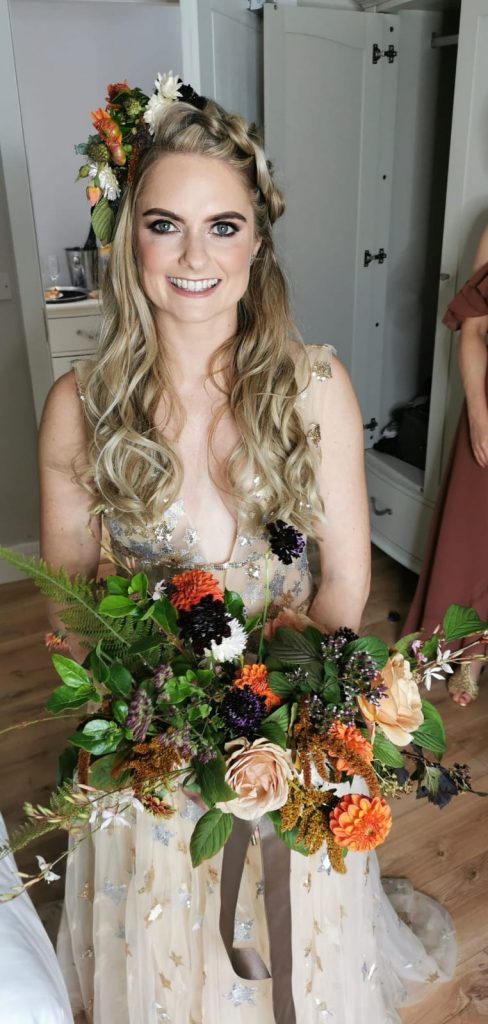
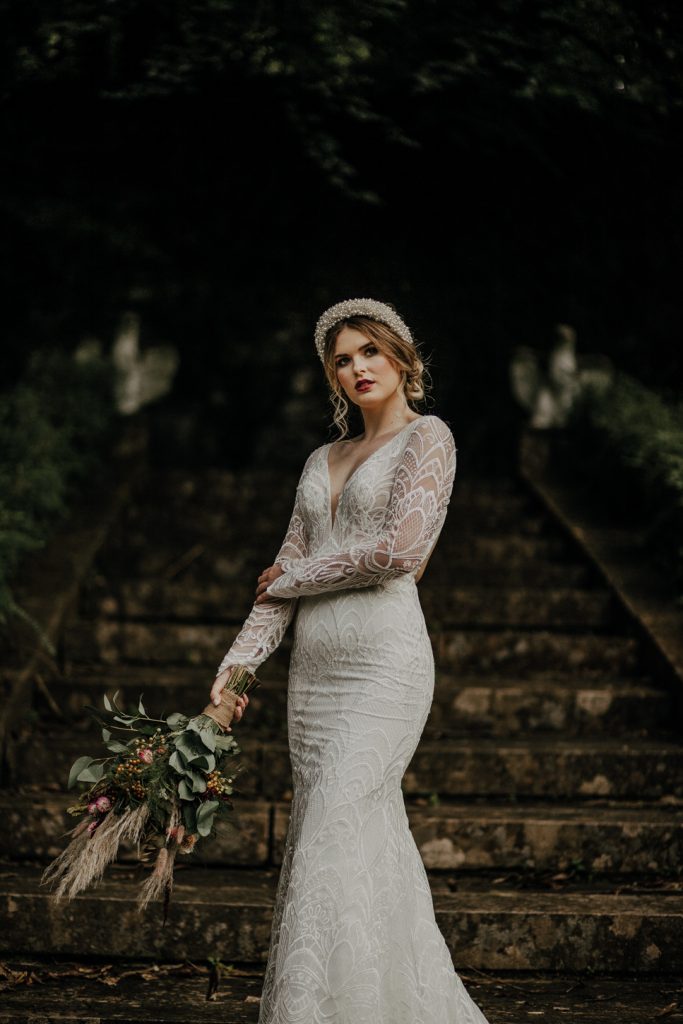
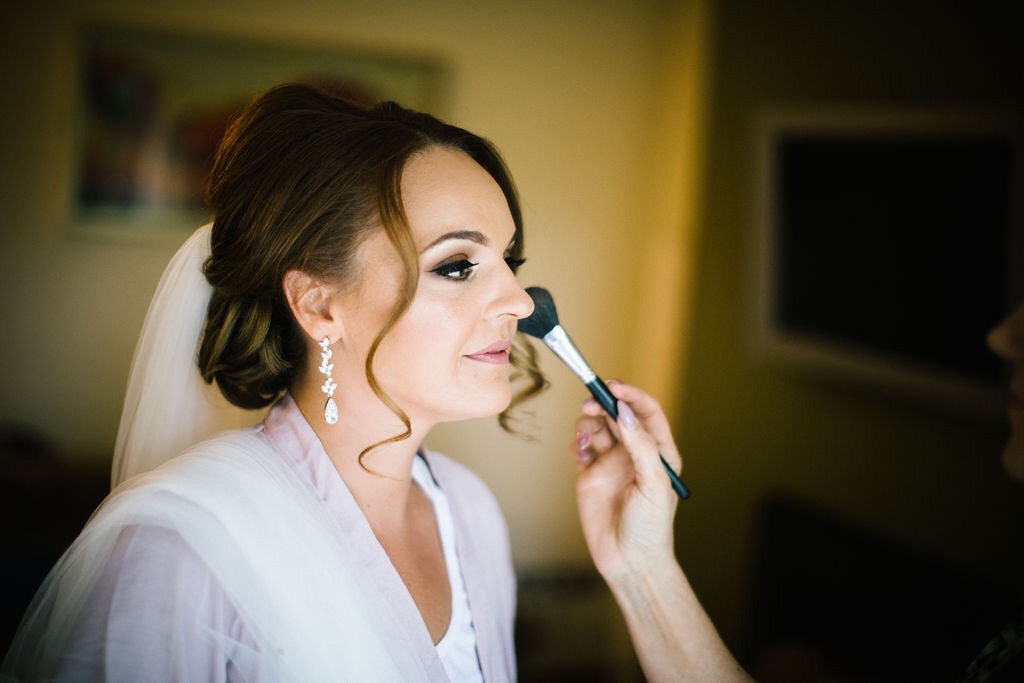
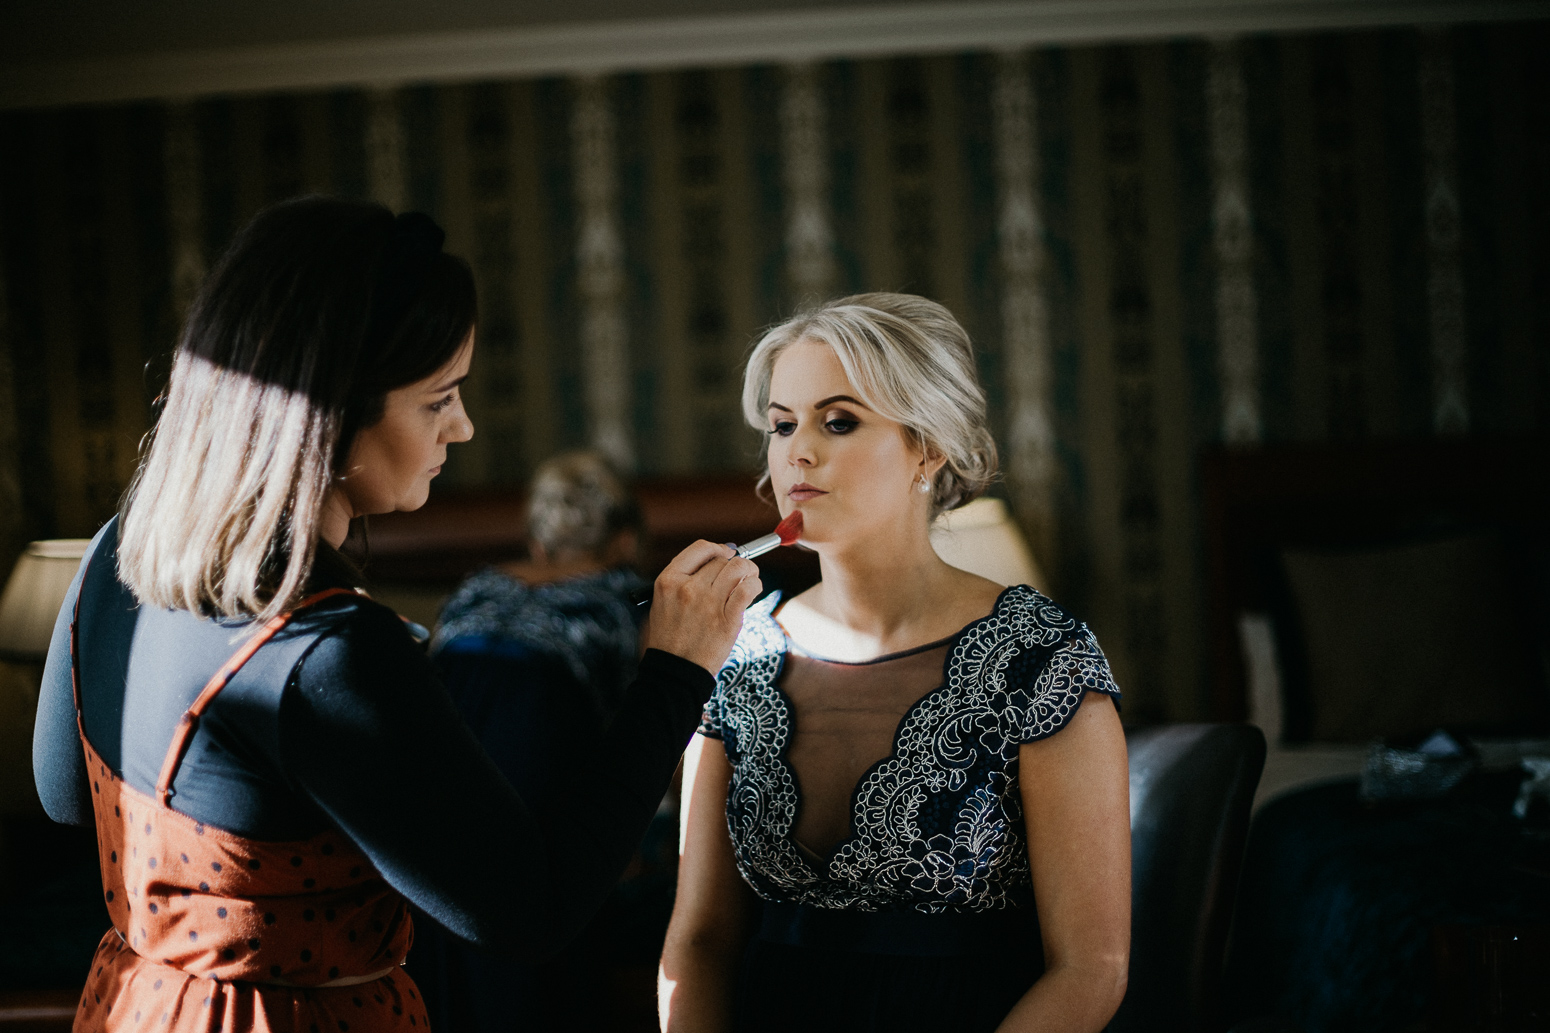
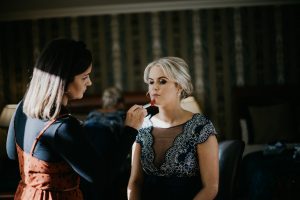
Wedding day hair and makeup is so important to most brides. You want to look back at your photos knowing that you not only looked amazing but felt amazing too. As a result of this 99% of brides will opt to hire a professional hairstylist and makeup artist.
However, with the new restrictions in place and your hairstylist and makeup artist no longer permitted to work this isnt an option at the moment. Brides are now faced with having to do their own hair and makeup. Doing it yourself can be daunting, so, with that in mind I’ve put together this little piece packed full of little tips and tricks that I really hope you find useful.
The Look
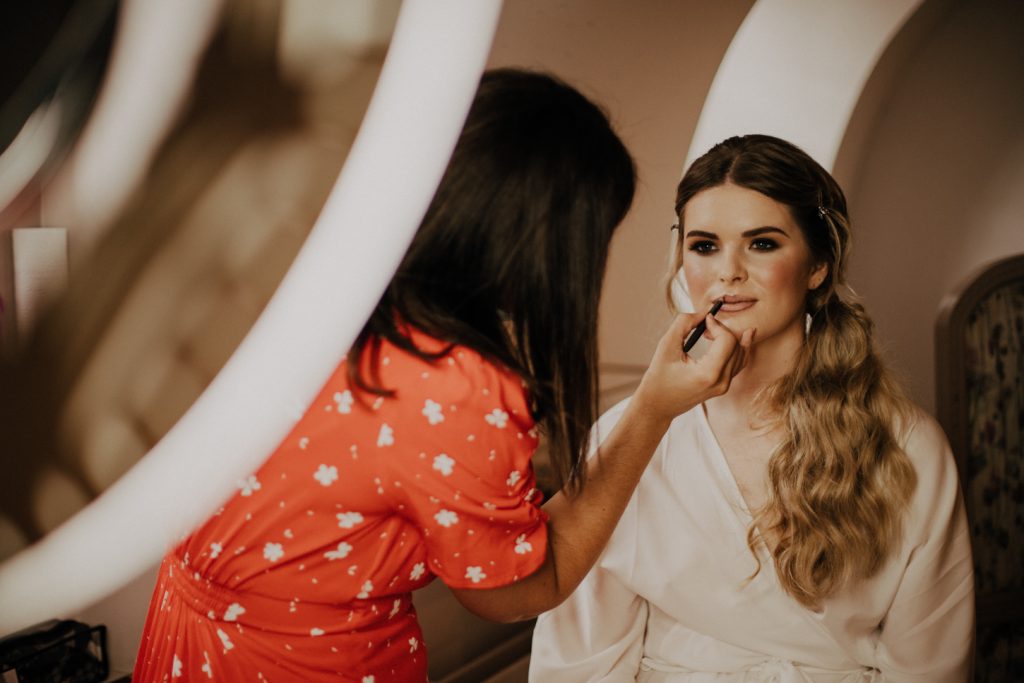
First and foremost, decide on the look you want to achieve. Do you want dewy skin? Are you more a full coverage kinda gal? Are smokey eyes your go to? What about lip colour? When brides come to me for a trial, these are the questions that I ask and depending on the answers I use them as a guide to create the look. I also ask my brides to bring some pictures of makeup looks that they like as these are a great way to get inspiration. Another great idea is to look back at photos of yourself and pick 2 or 3 that you really like your makeup in and base your look around this. Try to stay away from trends as they will come and go, your photos however, will be with you forever. Put all your focus into looking like the best version of you and you are guaranteed to look beautiful.
Use top quality products
If there’s one time you shouldn’t go for the dupe versions of your makeup, it’s your wedding day. All eyes will be on you, and there will be a ton of pictures so the last thing you want is uneven eyeshadow or foundation creases. High end products have a higher price tag for a reason, because they are good and in my opinion worth it. This is particularly important for foundation. Cheaper foundations may not last well, aren’t geared towards professional photography and can be hard to work with to get the flawless base we all crave.
Do a trial run
This is especially important for brides that don’t usually wear a lot of make-up. Its the best way to figure out what you want and to avoid stress on the big day. Take lots of photos afterwards so you can review them later and decide if you want to make any changes. Be sure to take photos outside so you can see how the natural light affects your make-up application too.
So, how do you actually apply the makeup? Keep reading to find out.
Step 1: Prep your skin
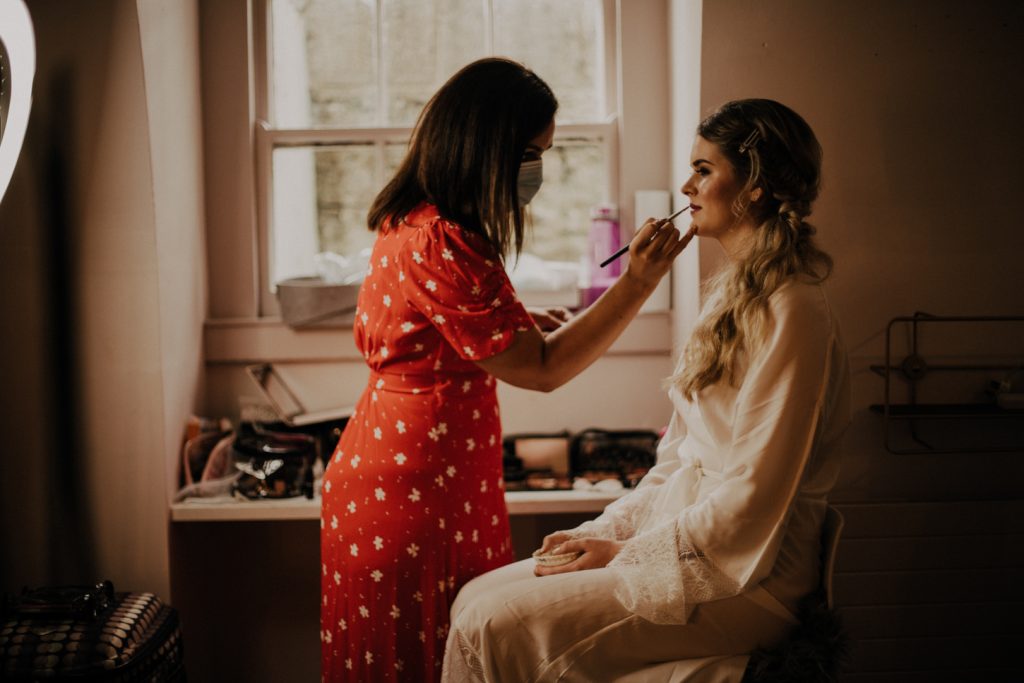
Much like your foundation you need choose the correct primer for your skin type. If your oily, you need to mattify your skin. If your dry, you need to add moisture. And if your a combination of both then personally I would use 2 separate primers, one to target the oils and the other to hydrate the dryer areas. (If having 2 separate primers isnt an option then focus on combatting the oils as this will break down your foundation quicker) If your someone that has a lot of open pores in the centre of your face then I would lightly recommend a pore minimising primer too.
My favourite primers are:
Oily Skin –
Estee Lauder, Mattifying primer
Laura Mercier, Oil free foundation primer
The Ordinary, High adherance silicone primer
Smashbox, Pore minimiser lotion
Dry Skin –
Bobby Brown, Vitamin enriched face base
MAC, Natural radiance base
Estee Lauder, The Illuminator, Radiant perfecting primer
Remember, before applying any primer, all skin needs to be moisturised regardless of being dry or oily. I love the Embryolisse, Lait Creme Concentre for this. Its a super light moisturiser designed for all skin types.
Once your primer has had time to sink in you can then look at applying a liquid illuminators to give that lit from within glow. (Use sparingly if your very oily or have a lot of open pores.)
I love both the Charlotte Tilbury Hollywood Flawless Filter or NARS Tinted Glow booster for this. They work amazingly under foundation and wont cause it to slip while giving the perfect amount of glow to your skin.
Step 2: Your eyes
Once I’ve prepped the skin I always move straight onto eyes. If there’s any mistakes or eyeshadow fall out, it’s easy to correct without disturbing the rest of your make-up.
Its a good idea to neutralize any uneven colour on the eyelids before applying any eyeshadows. The eye base should double as a primer and make your eyeshadow waterproof and longer-lasting. I love MAC paint pots in Painterly and Soft Ochre, BPerfect Eye Primer or Urban Decay Primer potion for this. They don’t necessarily need to be set but I like to give a light dusting of powder to stop any creasing.
A subtle smokey eye can look amazing for a bride but stay away from black shadows and anything that can look too heavy in photos. A more natural make-up look with the focus on brightening and opening up your eyes will be much more complementary. Use light brown or taupe shades and build your colour intensity by applying a small amount each time. MAC Saddle, Swiss Chocolate, Cork, Wedge, Soft brown and Brown Down are just some of my favourites to work with. Remember to blend, blend, blend and when you think you’ve blended enough, blend some more.
A little pop of shimmer on the lid can be very flattering in your photos but try to avoid anything too glittery or chunky. MAC Woodwinked, Expensive pink or Honest are gorgeous on brides and give the perfect amount of frosting needed.
If your not confident with gel liner then your wedding day is not the day to attempt it. Using a black or very dark brown eyeshadow, you can press it gently along your lash line to minic liner and give you a fuller lash effect. Smudging is slightly will soften the look and remove any harsh lines. A sweep of the mid tone browns underneath the eyes will define them perfectly.
A couple of individual lashes on the outer corner will open your eyes up beautifully but if the thoughts of applying false lashes puts the fear of god into you then avoid and fire on a couple of coats of good waterproof mascara. Max Factor 2000 calorie is my own personal makeup bag staple but MAC Extended play, NARS Climax and Benefit Bad Gal mascaras are highly rated too.
Step 3: Foundation
When selecting a foundation it’s important to work with your skin type instead of against it. If you have oily skin – Avoid foundations boasting a dewy finish. If you have dry skin – Avoid a matte formula.
Some of my favourite foundations for bridal are:
NARS, Sheer Glow ( a good all rounder and suits most skin types unless extremely oily)
Estee Lauder, Double Wear Light ( Brilliant for Combination or Oily Skin)
Georgio Armani, Luminous Silk ( Amazing for dry or mature skin)
Selecting the correct shade of foundation can be tricky but and if in doubt I would always opt for a lightly lighter shade and use a bronzer to darken if needed. If your planning on wearing tan on the big day make sure your foundation is matched to your tan shade and not your natural skin tone.
The key to your bridal makeup lasting is layering so when applying your foundation, start with a very light layer and build gradually in areas that you feel you need a bit more coverage. Avoid going in too heavy with product as it’ll be hard to blend along the jaw and hair line. Blonde ladies especially take note!
Step 4: Concealer
Concealer is best applied after your foundation and should really only be used in areas that you need it. Over use will give a mask like effect and wont look natural. Using a shade or 2 lighter than your foundation for under the eye area and centre of your face will have a brightening effect. If using to cover blemishes try match it to your foundation shade and use sparingly so as not to have the opposite effect and end up highlighting the blemishes.
The most common areas to conceal is the inner corner of your eyes, around your nose, the chin and centre of your forehead. Using a tapping motion ensure its blended seamlessly into your foundation.
My most used concealers are:
MAC, Pro longwear concealer
NARS, Radiant Creamy concealer
Estee Lauder, Double Wear Stay in Place Concealer
MAC, Studio Sculpt Concealer
NARS, Soft Matte Concealer
Step 5: Powder products
Powder is always a must to ensure longevity! Using a finely milled translucent formula it will help set your base and blur the look of fine lines and pores without adding any weight. I don’t powder all areas though, I focus more so on the areas that tends to get shiny like the T Zone. Too much powder can look cakey so use a light hand.
My go to powders are:
Laura Mercier, Translucent loose powder
By Terry, Hyaluronic powder
MAC, Mineralise Skinfinish Natural
MAC, Studio Fix Powder
Charlotte Tilbury, Airbrush Flawless Finish Powder
Once your happy with your base its time to add some colour with bronzer and blush. Using bronzer first apply it directly under your cheekbones sweeping it both up onto the temples and below the jawline. You want to bronzer to add some gentle warmth to the skin so try to avoid anything too dark.A cooler toned bronzer can be used under the cheekbones for some extra sculpting/contouring if your after a more chiselled look.
Some bronzers I love are:
MAC, Mineralise Skinfinish natural powders in Medium Tan, Dark Tan, Dark Golden & Dark Deep
Charlotte Tilbury, Airbrush Bronzer
Benefit, Hoola Bronzer
NARS, Laguna Bronzer ( I adore this is the cream version but it can be tricky to blend cream products so powders are best if your not confident enough)
For blush there are so many options to choose from, cream, powder, matte, shimmer etc. Personally, I love a peachy toned blush with a satin finish but it really is personal preference. I would recommend trying out a few before the big day to see what one you like most. I have to admit, I adore a liquid blush on a bride but they do require practice to get the hang of blending properly. Powder is definitely the safer bet.
If your skin tone is fair/light look for soft pink, light coral or peach tones.
Those with a medium/dark skin tone rich pinks, warm mauves or deep peach will work beautifully.
Blusher should always be placed on the high apple of the cheek (the fullest part when you smile), try not to go too close to the nose or too high up onto the cheekbone.
Some blush products that I adore are:
Milani, Rose D’oro, Luminoso & Dolce Pink
MAC, Margin, Peechkeen, Melba, Dolly mixture, Well Dressed, Springsheen
NARS, Orgasm & Torrid (Both powder and liquid)
Charlotte Tilbury, Beauty light wand in Pinkgasm & Peachgasm
No bride is complete with out some highlighter to emphasize her already glowing cheekbones. Apply lightly to the highest points of your cheek bones, sitting directly above your bronzer and sweep it up towards your temples. Down the bridge of your nose, the tip of your nose and cupids bow are also great areas to highlight and will look beautiful in photos. Again use a very light hand to keep it natural. You can always add more in areas that you like more intensity. Liquid highlighters are absolutely stunning on the skin but as with the liquid bronzer they can be tricky to blend correctly so unless you know what your doing, id tend to stick with powder.
My all time favourite highlighters are:
Anastasia Beverly Hills, Amrezy highlighter
MAC, Soft & Gentle
MAC, Lightscapade
Becca, Champagne pop
Charlotte Tilbury, Beauty light wand in Glowgasm
Step 6: Eyebrows
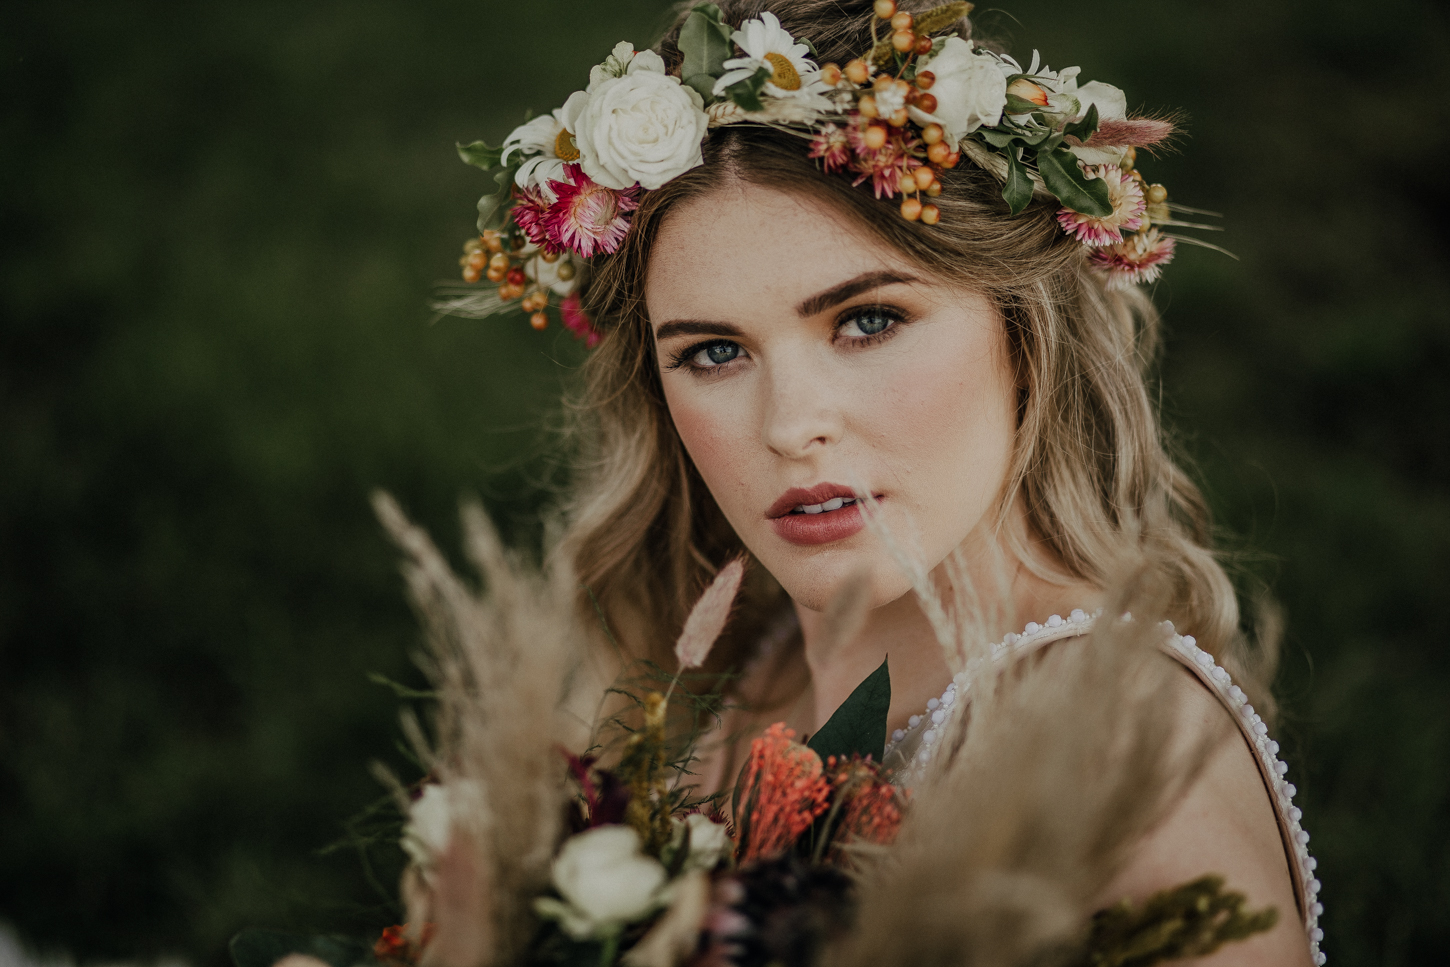
Your eyebrows should look naturally full and well-shaped. Use a precision pencil to fill in areas of sparseness with small, hair-like strokes. Finish them with a brow gel to fix them in place and create the look of a flattering full brow.
Benefit gimme brow pencils are fab.
BPerfect Indestructi’Brow are also super.
Step 7: Lipstick
The lipstick you choose for your wedding day can alter the whole look of your bridal makeup so it’s important to get it right and feel comfortable wearing it. If you don’t normally wear colour on your lips, your wedding day is not the day to be road testing.
The shade you wear is very much a personal choice but I will help choose a colour combination that I think will suit you & compliment the rest of the bridal makeup I have applied.
Below is a list of shades that I know works well for brides and many of my clients continue to wear their bridal lip colour long after their wedding day.
Nudes
Nudes are by far the most popular option when it comes to bridal lip colour. They are perfect for the natural brides or those who want their eyes and dress to do the talking.
Some of my favourite nudes are:
Mac
Modesty
Faux
Blankety
Honeylove
Velvet Teddy
Creme Cup
Peach Blossom
Charlotte Tilbury :
Kim KW
Penelope Pink
Dancefloor Princess
Pinks
Pinks are beautiful on a romantic bride. From baby pinks to deep magenta theres wide range to choose from.
Some of my favourites are:
Mac
Plumful
Please me
Patisserie
Crosswires
Hot Gossip
Charlotte Tilbury
Secret Salma
In Love with Olivia
Reds
A red lip on your wedding day is a massive commitment but when worn with confidence is absolutely stunning!! Finding the perfect red can be a challenge but there is a red lipstick out there for absolutely everyone!! If your natural skin tone is fair with pink hues look for a red with blue undertones. If your more olive skinned a red with an orange hue will work best.
My favourite reds are:
Mac
Ruby Woo
Lady Danger
Russain Red
Charlotte Tilbury
Red Carpet Red
Walk of Shame
Nars
Heatwave
Tom Ford
Ruby Rush
Cherry Lush
BONUS TIPS
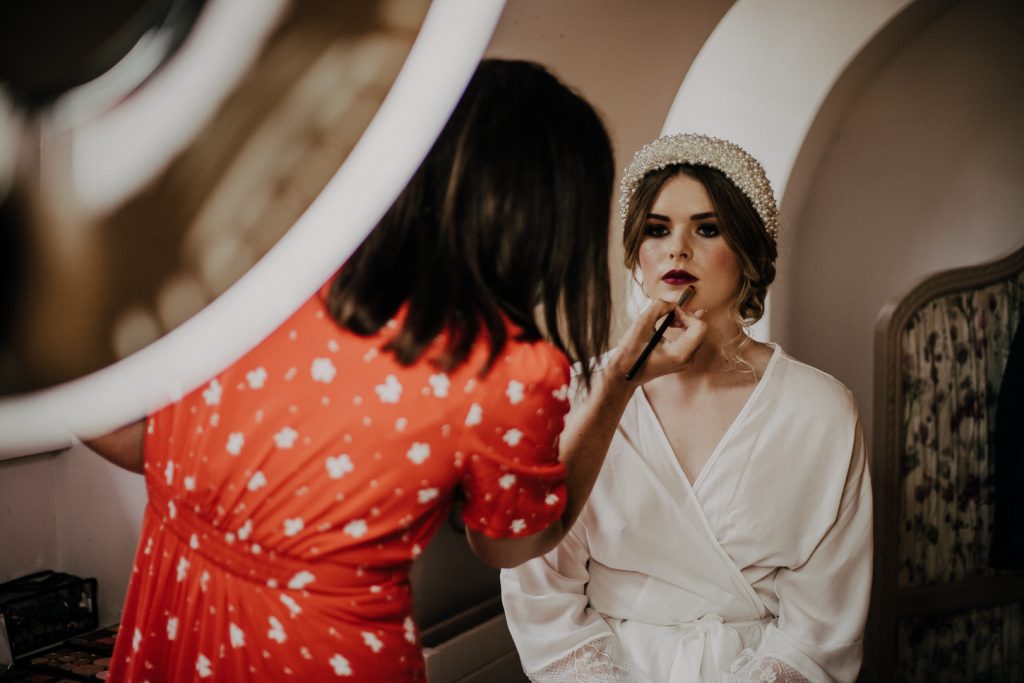
Give yourself enough time to finish your make-up and then step away for a while. You might feel like you’re wearing too much, but leave it to settle for an hour and then re-visit it.
Wear a white dressing gown or t-shirt while applying your make-up trial to mimic the colouring of your dress on the day (if you’re wearing white, that is!)
Practice your wedding day look a few times and take lots of pictures inside and outside with flash and no flash.
Some people enjoy doing their own makeup; others find it stressful. If you know your going to be stressed, think about clearing the room so it’s relatively calm, and just having one person on hand to help.
Set aside an hour and a half for your make up on the day. The best way to avoid getting flustered is to take your time.
Work out a time you need to be in your dress by (usually an hour before your due to leave) and aim to have your makeup finished about 1/1.5 hours before this.
Finally, enjoy your morning. Dont let the events of 2020 ruin what should be the happiest day of your life.
P xx
